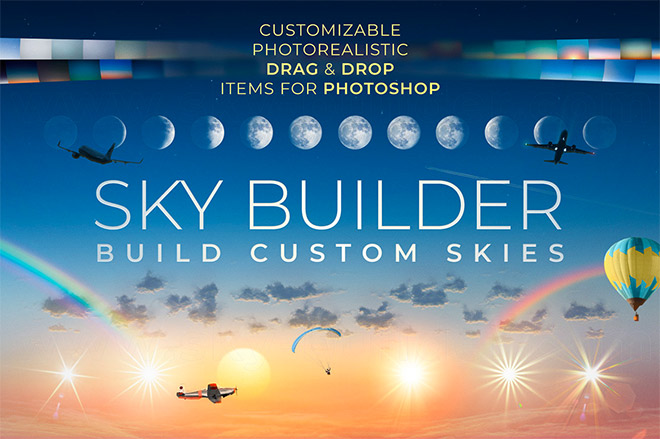
In today’s video tutorial we’re going to take a look at a few different methods of replacing the sky within a photograph. You know how it is, you capture a great shot, but the weather at that particular moment results in a lacklustre grey, overcast sky in the background. With just a few simple steps you can replace the sky with much more interesting clouds and colours to enhance the sunset vibe or create a moody atmosphere. I’ll first show you the old-fashioned technique of manually selecting the sky, but Photoshop now has a built-in Sky Replacement feature that does the job in one click. Stick around until the end and I’ll also show you a great toolkit you can use to build your own custom skies.
Assets used
 Get up to 50% off the Sky Builder toolkit – http://spoon.graphics/skybuilder
► Red and White house photo – https://spoon.graphics/3rzafvV
► First donor sky photo – https://spoon.graphics/3dgBqXo
► New York photo – https://spoon.graphics/31sc0k9
► Second donor sky photo – https://spoon.graphics/3czYlO0
► House photo – https://spoon.graphics/31wN1fA
Subscribe to the Spoon Graphics YouTube Channel
The post Video Tutorial: How to Replace the Sky in Photoshop appeared first on Spoon Graphics.


0 Comments